Monday, August 08, 2011

Socks After Sock Summit

Right before Sock Summit I went on a bit of a sock knitting kick. I whipped out a pair for a friend's birthday as a test knit for a pattern I am writing and finished off a pair for my husband.


This is the test knit pair for a friend (rav link). They are knit out of Cascade 128 Superwash Chunky in color #845 Denim. I knit these up in just a couple of days. They were a lot of fun and used less than 1 ball of yarn. I'll definitely have more to say about the pattern later when I get it all together.


These are the socks for my husband (rav link). I finished them just about 3 years to the day. He has size 12 feet, which means sock knitting is very slow going on #2US needles. I think the next pair I knit for him will be out of much chunkier yarn. This yarn, which was a dream to knit with, is Alpaca Sox in color #1875. The pattern I made up myself. It uses a garter rib, which helped to hold my interest when I actually was knitting on them.

Note: I will be out of town this week, so any orders placed now through Friday will be shipped on Monday. Thank you for your understanding!

Friday, August 05, 2011

Sock Summit Classes

I took 4 incredible classes at Sock Summit. Here are the highlights from each:

1. Chroma Zone with Tina Newton: In this class Tina walked through her process of dyeing yarn. It gave me a lot of food for thought on how I might grow my business in the future. I will definitely think about her class for many months to come.

2. The Deeper Meaning of Socks with Anna Zillborg: A philosophical look behind knitting and socks.

3. Fleece for your Feet with Judith McKenzie: Stephanie Pearl-McPhee said it best in her introduction of Judith for the class: this woman knows more about sheep than everyone in Sock Summit put together. This was an in depth look at the properties of different wool and their uses for footwear. Some day I would love to take a much longer class with her. I bet it would be amazing!


4. Perfect Buttonholes with Anna Zillborg: This class was on a totally ingenious way to make buttonholes. The best way I can describe it is a turned hem with kitchener stitch. If you have the chance, definitely take this class, it was very fascinating.

I really loved having the opportunity to take classes this time. It made Sock Summit that much more amazing. I definitely plan on taking classes again next time!

Monday, August 01, 2011

Sock Summit Highlights

Sock Summit was incredible this year! I had a blast! It's actually hard to go back to regular life after all the excitement of the weekend.


Here is our booth! We had so much fun getting out all of the Gardiner Yarn Works samples and hanging them up. We really liked how the booth came together this time. Every time is a learning experience and this was no exception.


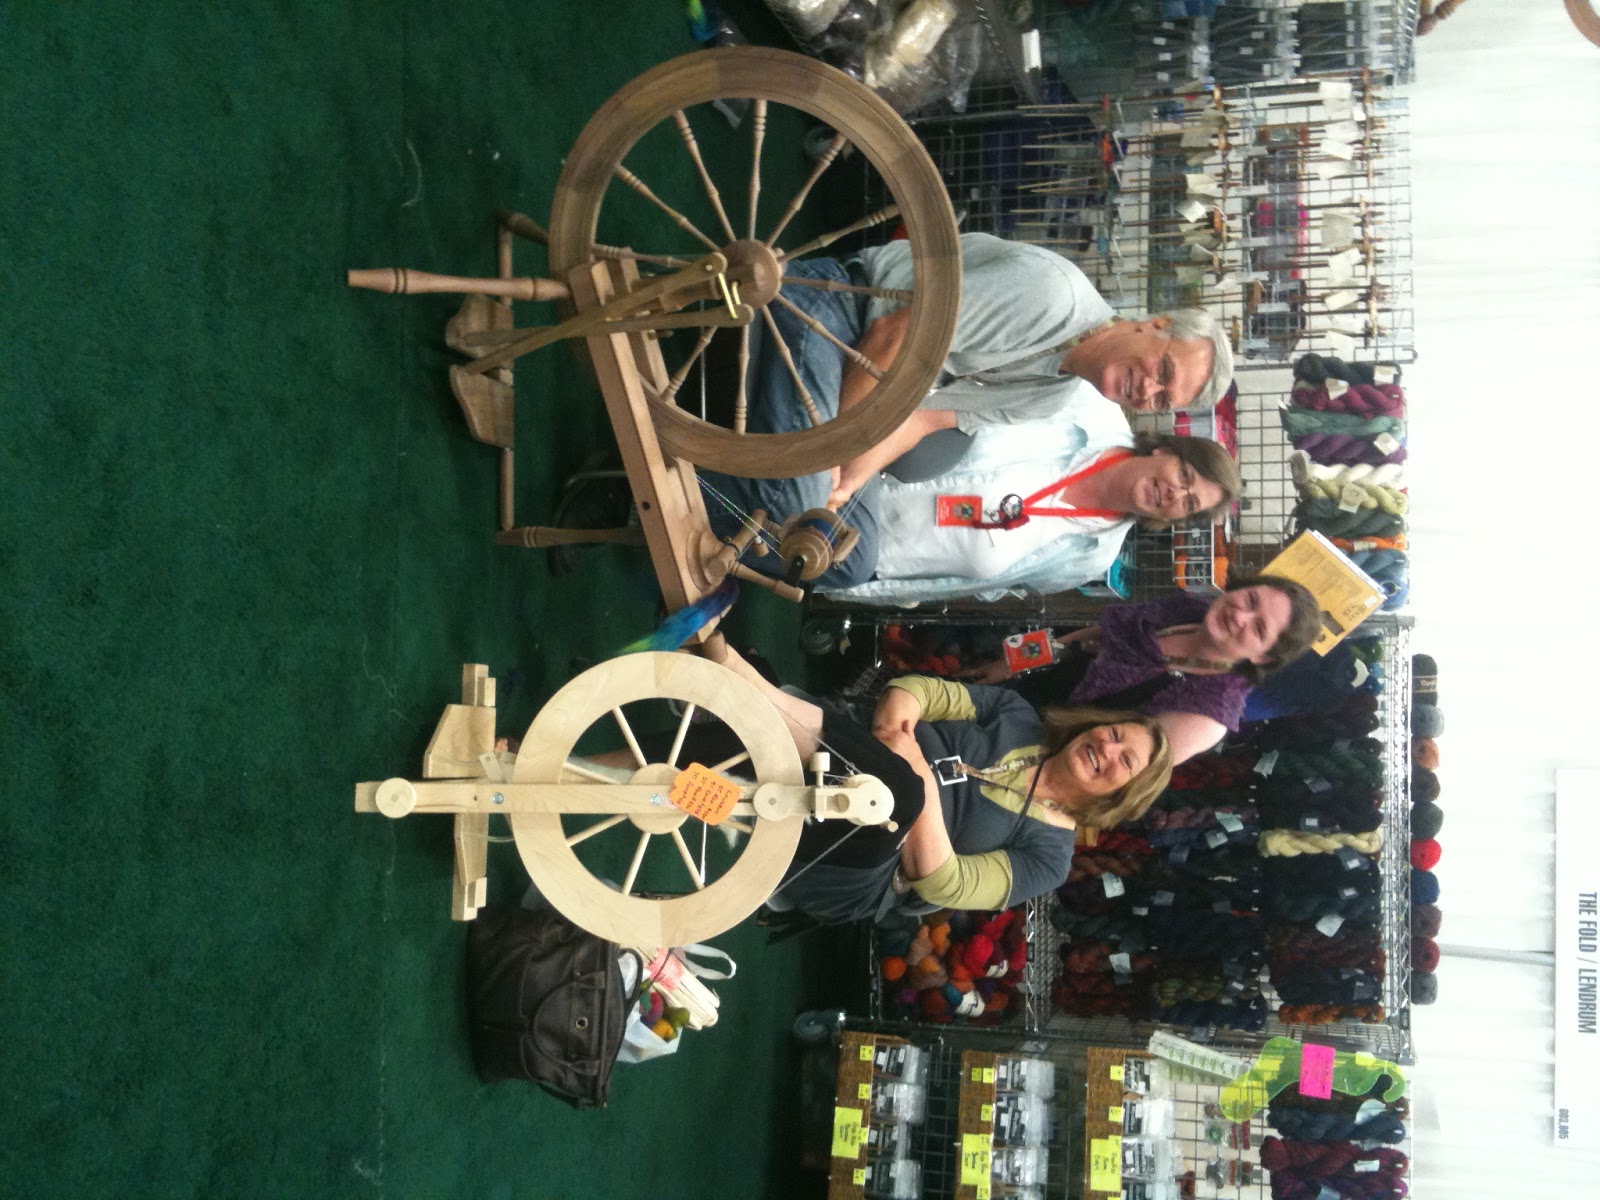
I had many many fun moments, including classes and visiting with people. This photo is a total fan girl moment for us. From left to right is Gordon Lendrum (maker of Lendrum spinning wheels), Colleen (Donna of Plover Design's wonderful and most helpful sister), me, and Judith MacKenzie. Kirsten (another wonderful helper) took the photo. Our booth was right across from them, so we couldn't pass up the opportunity to sheepishly ask for a photo.

Tuesday, July 26, 2011

Hummingbirds

I am so excited because we finally put up a couple of bird feeders. So far we haven't attracted the song birds I hear twittering in the trees, but we have managed to attract a couple of hummingbirds!


They love to perch on what should be the hangers for the seed bird feeders. This one especially likes this spot and will sit there and watch the other hummingbirds fly around before chasing after them.


They just love this hummingbird feeder. I love it too! I found it at Lowes and I think I just might need another one. So far we are getting a couple different ones which we think are Rufous Hummingbirds, or Allen. We have both in the area, so we might just be getting both. 

They also like to look in the window at us which gives us a strange feeling of who is really watching who. I have some plans for putting in some hummingbird friendly plants in the future, now that I know they are here and like our feeder. 

Sunday, July 24, 2011

Bloggable

So, two major projects I have been working on are now bloggable!

First, I dyed up the yarn for this month's Nellie's Never Enough Sox Club put on by For Yarn's Sake. The yarn is called Peace Rose. It's one of my favorite rose colors, so I was happy to work with Anne to develop this colorway. I was even happier when I found out Judy Becker is the designer. So she has now knit with a skein of my yarn. Yay! I forgot to get a picture of a single skein before delivering it, but you can see the finished sock and a skein of the yarn on For Yarn's Sake's website here.

The other project now bloggable is I am the featured dyer for August on Yarn 4 Socks. Donna chose some very beautiful colors of BFL Sock to feature for this month. You will be able to find the yarn in her shop and she posted an interview with me here.

Now back to work on Sock Summit stuff! If you are going make sure to stop by and say hi, I'll be in booth #604, right behind the information booth!

Tuesday, July 19, 2011

Free with the Purchase of the Yarn

For awhile I have been meaning to put both of these patterns up on the website:


First off is the Ribbon Scarf. If you have been to my booth at a show then you have probably seen this scarf. I have sold tons of Ribbon Yarn because this pattern is a freebie with the yarn. It's so fun, fast and easy to knit it up. I also have some real followers who buy yarn from me to make this scarf and sell at craft fairs. I don't mind as long as they keep coming back for more yarn!


The other pattern is a new one I have been meaning to put up since about February. This past few months have just flown by! Anyway, this is the Cloud Cap Cowl I designed this cowl to use exactly one skein of my new Cashmere DK yarn. It is sinfully soft to wear, since it is pure cashmere. I simply love it! It would make a great project for getting a head start on all of your holiday knitting. It's small and portable for summer, but warm and soft for winter. A win-win in my book.

I have a couple more free-patterns-with-yarn currently in the works. Maybe a couple of other projects too. Some you might even see at Sock Summit (booth 604) before they make it onto the website!

Monday, July 18, 2011

Coming & Going

First off, I am sad to announce another yarn being discontinued:


Aztec Boucle. This yarn is made of organic cotton. It has a soft nubbly texture which is great for babies or next to skin projects. When knitting with it I have thought it would make great washcloths or scrubbies. I have sold a lot of this yarn over the past couple of years, so I was very sad to hear that this yarn will no longer be made. So, I have marked it down and put it all on sale until it is gone. Not much is left, so if you love this yarn as much as I do make sure to get it quick!


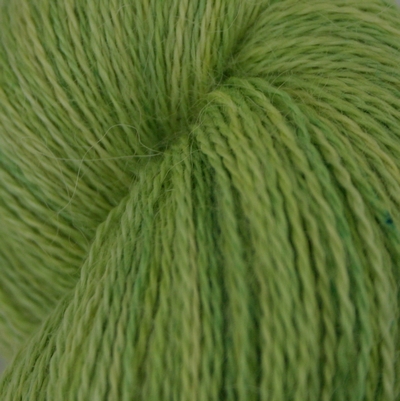
Somehow there is always a balance to these things. I just added this new Alpaca Silk lace yarn to the shop. It is 70% Baby Alpaca 30% Silk. It has 100 grams and 874 yards. As you can imagine it is super soft and light and airy. It's perfect for summer knitting those lightweight lace shawls. It's light to knit, but should definitely keep your shoulders warm on cooler evenings. I have dyed it up in a variety of different colors, so there should be plenty to choose from!

Tuesday, July 12, 2011

Grandma's Perfect Pie Crust

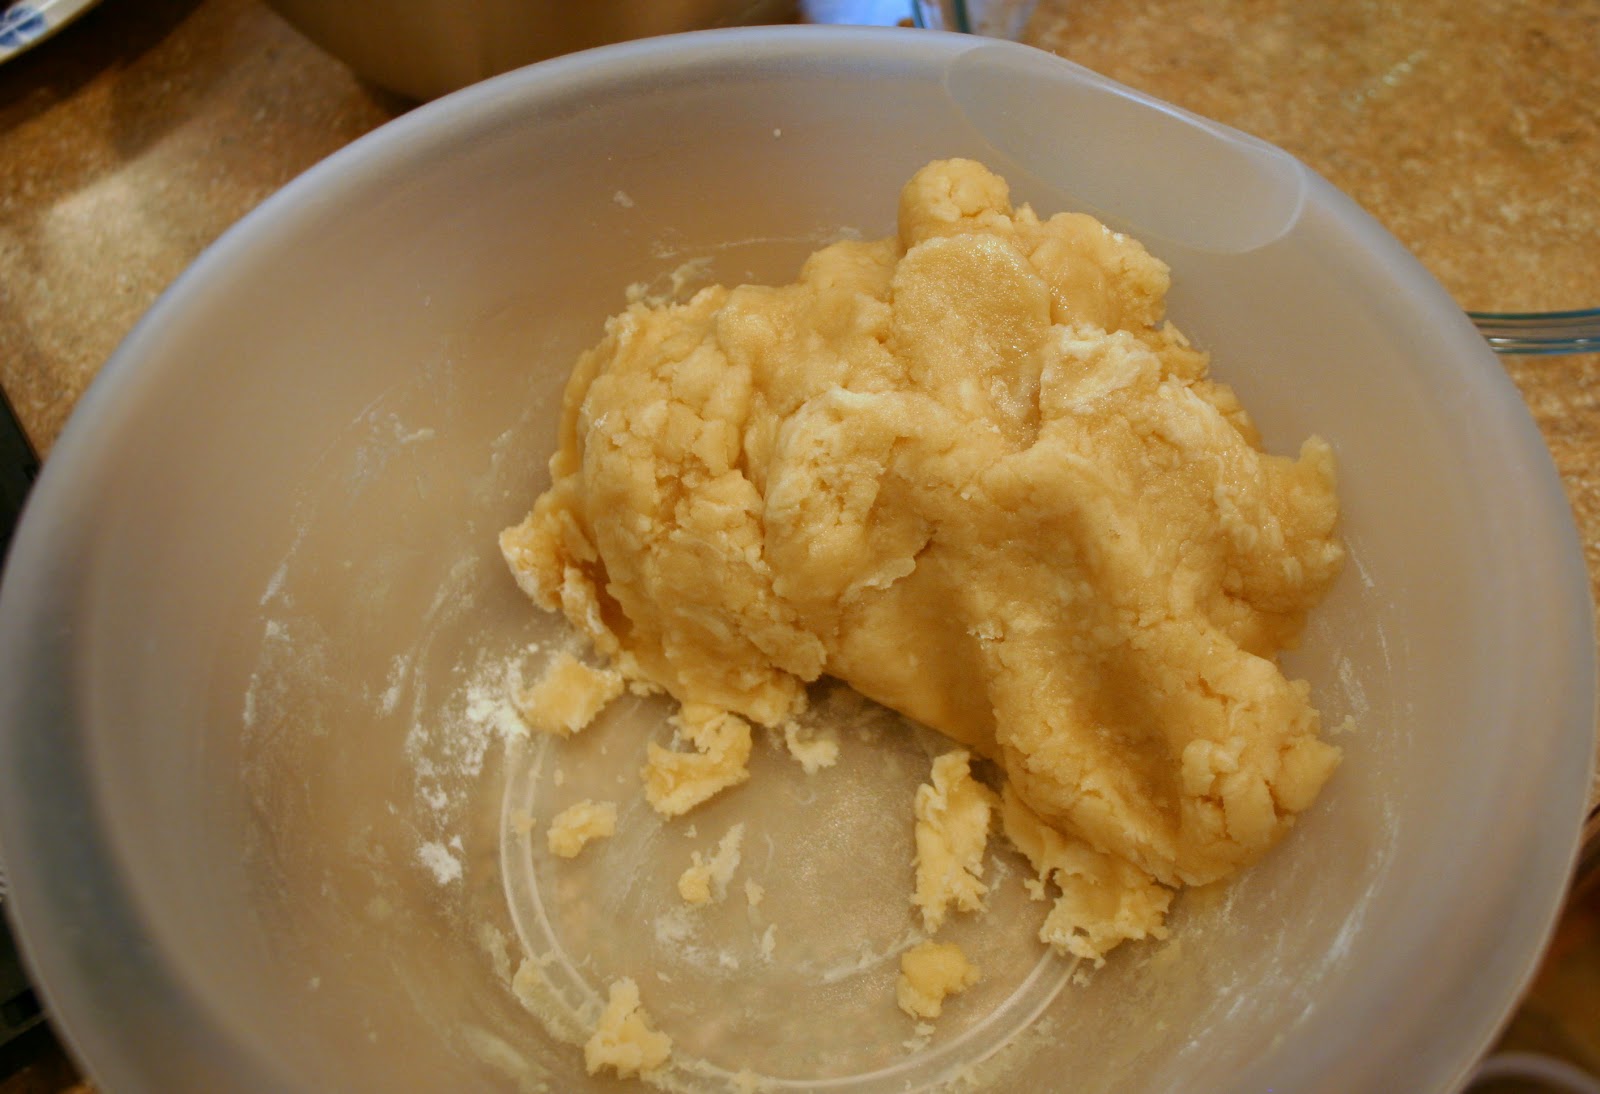
I don't know about you, but I tend to think of pie crust as a pain in the butt. When I first read recipes for it I was daunted by the instructions and warnings about keeping the butter/shortening cold, using ice water, and keeping the crust perfectly cold the whole time. What a lot of work! So I was mildly surprised when I ran across my grandmother's recipe neatly written on a card. There was no mention of butter or shortening or ice water. In fact it uses oil and milk, which I thought couldn't possibly work. So I tried it out and it makes the most easy, lightweight flaky crust I've ever eaten. I documented my last go of it here:

Simply mix together in a bowl:
2 Cups Flour
dash of sugar
dash of salt
2/3 Cup of Oil - I use Safflower, but another light tasting oil would work just as well.
1/3 Cup of Milk

I use a spoon to mix it all together. I've tried a pastry cutter before, but it tends to get all gummed up and doesn't work as well.

Next, roll it between 2 sheets of wax paper. It usually ends up bigger than the wax paper, so I just tear off those extra bits and put them aside for later.

Then I take off one of the sheets of waxed paper and place the pie crust into the pie dish. I can position it and push it down into the pie dish before I remove the 2nd sheet. I take the 2nd sheet off very carefully making sure to keep the pie crust in place. It doesn't really matter if the crust tears or has holes because those can be patched with the extra crust from around the edges.


I tear off the extra bits of pie crust around the edges, patch any holes, then go around the edges shaping the dough edge with my fingers. It's very fun. Then I fill it with my favorite pie filling. This happens to be a Dutch Apple Pie, made with apples from our CSA box!

Mmm...Hot Apple pie out of oven! It's perfect on its own or with a scoop of vanilla ice cream. The crust comes out nice and flaky and perfect. It makes me so happy!


And this is what you do with the leftover pie crust! Simply add jelly between two pieces and instant mini pies! I used Oregon Marionberry Jam from Costco. So tasty too! I can say all desserts were well received and disappeared all too quickly!

Monday, July 04, 2011

Black Sheep

This week has been simply a whirlwind. We got back from Black Sheep on Monday. Our wedding anniversary (9 years yay!) was on Wednesday, then our 10 year class reunion was yesterday. Today we are going to have a few friends over for a BBQ for the 4th then go watch the fireworks. I think tomorrow we will sleep and that's about it! Anyway, I finally have a moment to post about Black Sheep, so I thought I would take advantage of it:


This is my final cast and what I wore for the show. It is a walking cast. I can't exactly get it signed, but I can take it off for showers and things. Which is something I am definitely thankful for. I didn't get out of the booth too much because I am still getting used to the crutches. Hopefully by the time Sock Summit happens I'll either be used to them or will find alternative transportation.

So here is the booth from my vantage point. This is our first year inside. So we had to try out a slightly different way to display everything.


We didn't have quite the same heighth we are used to with the tent, so the displays were much lower. We have some ideas of how to improve this for next year. I love how each show is different and we slightly change things every time! I think we are pretty happy with our new spot, so we should be there from now on.

The other benefit to our spot is it is right down the aisle from Blue Moon and Dicentra, two of my favorite vendors! I had a lot of fun chatting every day with the Blue Moon ladies. I even got to try on the Moonstruck Cardigan, which is definitely on my must knit list for the fall. I now have an idea of what size I need to knit, now to just choose which yarn before I see them again at Sock Summit!

In other news, I have joined Google+. You can find me on their either as Yvonne Ellsworth or through my email address: lavendersheep (at) gmail (dot) com!

I hope everyone has a wonderful 4th of July! Stay Safe!

Thursday, June 23, 2011

Silk Hanky (Muwata) Tutorial

I am introducing a brand new product, silk hankies, and I thought I would do a quick tutorial on how to work with them, both for spinning and knitting. Here goes:

Silk hankies or Muwata come in squares, which are actually the silk cocoons stretched over a square frame and then layered and layered until they look like this.


When you pull the layers apart it looks like this. This is probably 3 or 4 layers of silk cocoons.


This is what a single layer looks like. It is much easier working with a single layer if you would like a finer yarn. Though it does start out fairly thick, so don't worry you can still get a medium weight yarn this way too.


Next put your fingers through the center of the hanky and pull out until your hands can fit through the center. Continue pulling, making sure to rotate the hanky from time to time to get it as even as possible. The fiber will end up thick and thin in the end, but you still want it as even as possible.


 Eventually your hanky will start to look like this. You can go through and tug on areas that are thicker to thin even them out with the rest of the fiber.


If you want to know how thick your fiber is use a Wraps Per Inch (wpi) tool, or if you don't have one, try a ruler. Wrap the fiber around evenly, not too loose, not too tight for at least 2 inches, then divide by 2 to get the wraps per inch. The wraps should lie right next to one another, not scrunched together or with big gaps in between. To figure out what your wpi means I found a chart on Ravelry, or basically:
5 to 6 wpi = Super Bulky
7 = Bulky
8 = Aran
9 = Worsted
11 = DK
12 = Sport
14 = Fingering
16+ = Lace

Continue to stretch the hanky until you reach the desired size for your yarn. This is true whether you are knitting or spinning, because the silk is difficult to draft while spinning, so if you can get it as close as possible to your desired yarn size, then you will have much less difficulty spinning it. Break the circle apart by pulling on it until it breaks, creating 2 ends.

Wind the resulting fiber around a paper card of some kind. I used a business card, but you could also use an index card or other scrap of heavy paper. It is important to wrap it around something smooth which won't catch on the silk. DO NOT wrap it into a ball on itself, because this will make a tangled mess in the middle, which will be very difficult to work with.

If you wish to do all of your hankies at one time, you can continue to wrap them around the card one on top of the other. It can get a little rough on your hands to do it all at one time, so be careful and take breaks as necessary. Also you can stretch one layer of the hanky at a time as you need it for your project. I just got carried away with how much fun it was to see the colors all stretched out.

When you are through you are ready to either spin it into yarn or knit with it. This is the end for the spinning tutorial. The rest is all about knitting. As with any handspun or thick & thin yarn, make sure to knit an ample gauge swatch to see how your yarn behaves. A 4 x 4 swatch should be enough. Depending on your project or your preferences you may wish to block the swatch as well.

This is the end of the tutorial. Next time I'll show you the project I knit out of my silk hankies!

I will have the finished project as well as all of the hankies, while they last, at Black Sheep this weekend! We will be in room 3, booth #39, on the same row as Blue Moon and Dicentra. Make sure to stop by and check them out!